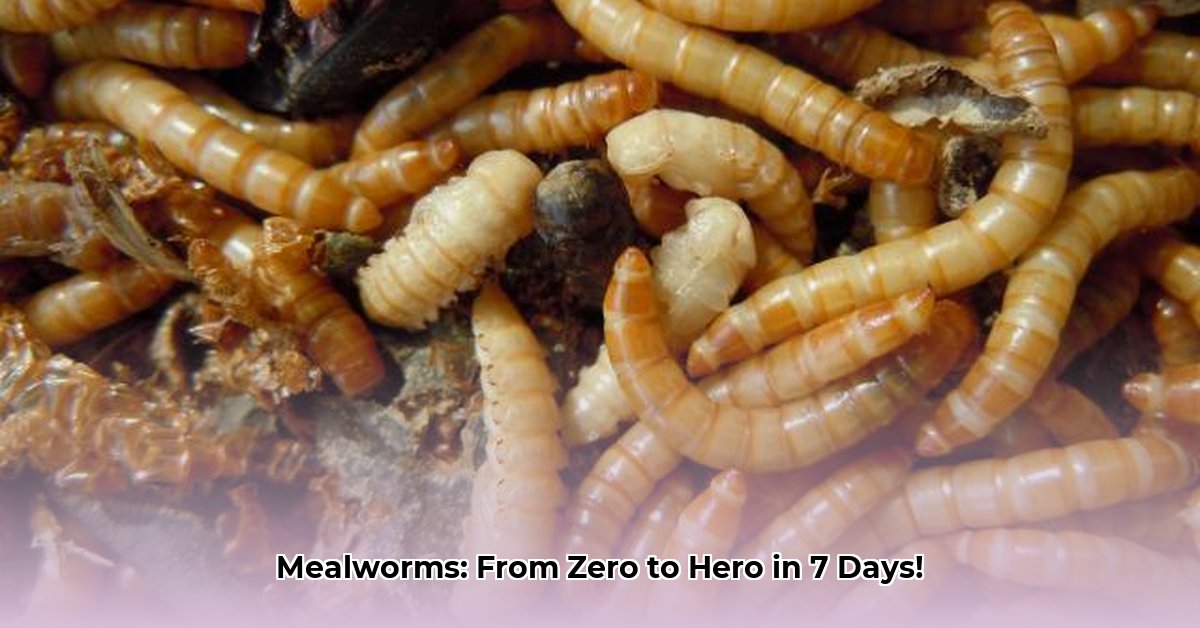
Setting Up Your Mealworm Habitat: A Cozy Home for Your Crawlers
Starting your mealworm colony requires creating the perfect environment. A clear plastic container provides easy monitoring. The bedding is crucial: use a layer of bran or rolled oats (their food source and home). Avoid packing it too tightly; they need space to move. Aim for a slightly damp, not soggy, substrate; a spray bottle helps achieve this. Keep the container dark; mealworms prefer darkness. Think of it like creating a comfortable, spacious apartment for them. A well-maintained habitat is key to preventing issues like mold and die-off. What's the best way to ensure optimal moisture levels without overdoing it? For more tips, check out this helpful resource: Mealworm Care Guide.
Feeding Your Mealworms: A Delicious and Nutritious Menu
While bran and oats form the base of their diet, offering variety is beneficial. Small pieces of vegetables, like carrots or potatoes, can be added as occasional treats. This is akin to providing a balanced, diverse meal. However, moderation is key. Excessive treats can lead to an imbalance in their diet. Remember to regularly replenish their food supply to avoid stress from food scarcity. How frequently should you add fresh vegetables to prevent spoiling and maintain a balanced diet?
Daily Monitoring and Troubleshooting: Keeping Your Colony Healthy
Daily monitoring is essential. This involves checking for mold (fuzzy patches requiring immediate removal and substrate replacement) and signs of stress (increased deaths or unusual sluggishness). A sudden increase in deaths warrants investigation. Consider temperature, moisture, and food levels. Act promptly to address any problems before they escalate. What are the most common signs of stress in mealworms, and how do you address them effectively?
Maximizing Your Mealworm Success: A 7-Day Action Plan
This seven-day plan provides a structured approach:
- Days 1-3: Set up the habitat––add substrate and food, ensuring proper moisture levels. Expected Outcome: A healthy, stable environment.
- Days 4-6: Monitor moisture and add small vegetable portions, ensuring a diverse diet. Expected Outcome: Mealworms are active and feeding well.
- Day 7: Assess overall colony health, adjusting conditions as needed (temperature, moisture, food). Expected Outcome: A thriving colony with minimal casualties.
Key Takeaways: Ensuring Your Mealworm Colony Thrives
- Habitat is Key: Proper bedding, moisture levels, and darkness are crucial for mealworm health.
- Balanced Diet: Bran/oats form the base, supplemented with occasional vegetable treats in moderation.
- Consistent Monitoring: Daily checks prevent problems, allowing for timely intervention if issues arise.